Quick Start
When setting up your CarePro portal for the first time, there are some basic settings you will want to configure.
Setting up your logo
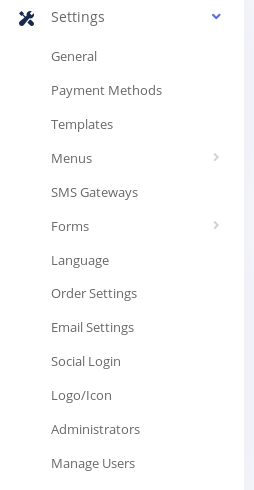
One of the first things you will want to do is to setup your Logo. To do so, click on the 'Setting'->'Logo/Icon' menu option
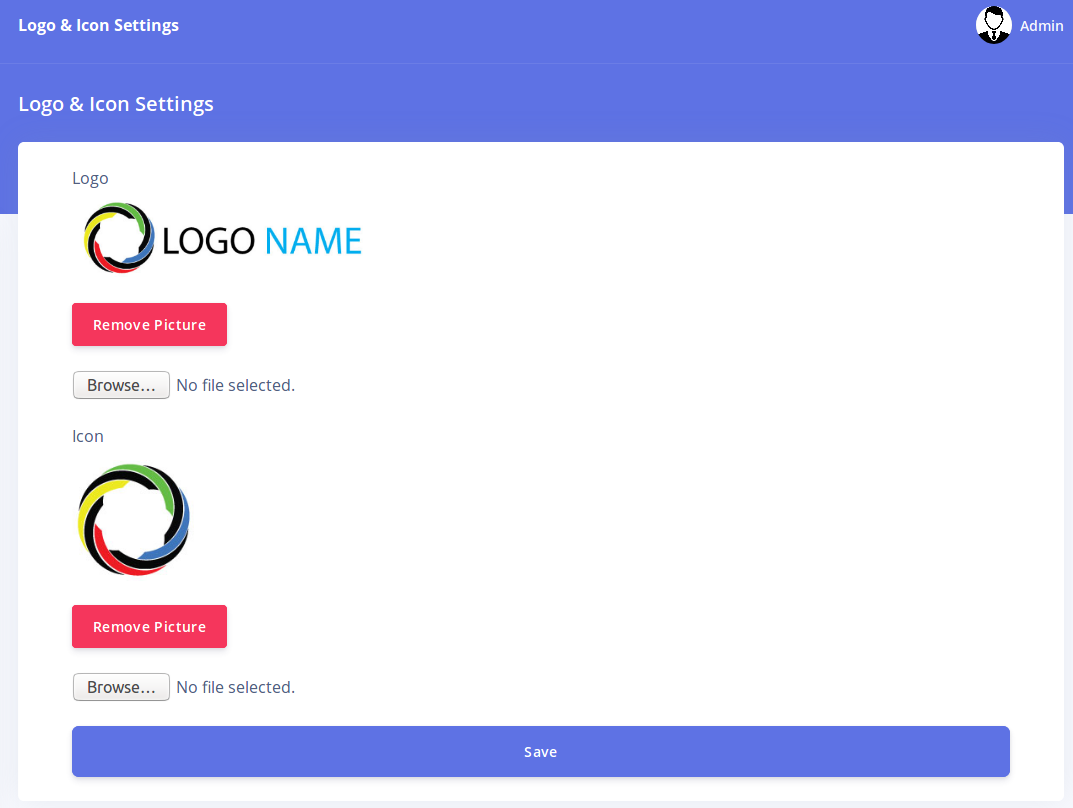
On this page, you can select and image from your computer to be saved as your Logo and Icon respectively.
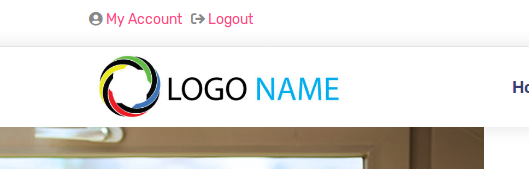
The logo is the main image that is displayed at the header of your site's pages as show below
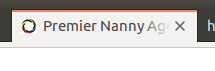
The icon on the other hand is the small image that is displayed on your web browsers tabs e.g.
Click on the 'Save' button and your logo will be set immediately.
Customizing your template
CarePro comes with different templates you can choose from. A template is a design that gives the public area of your CarePro application a special look. Each template comes with different options that enable you customize the general appearance and content of various aspects of the template.
To customize your current theme or choose a new one, go to 'Settings'-'Templates'
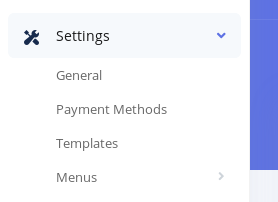
The templates page is split into two sections: Active Template and All Templates.
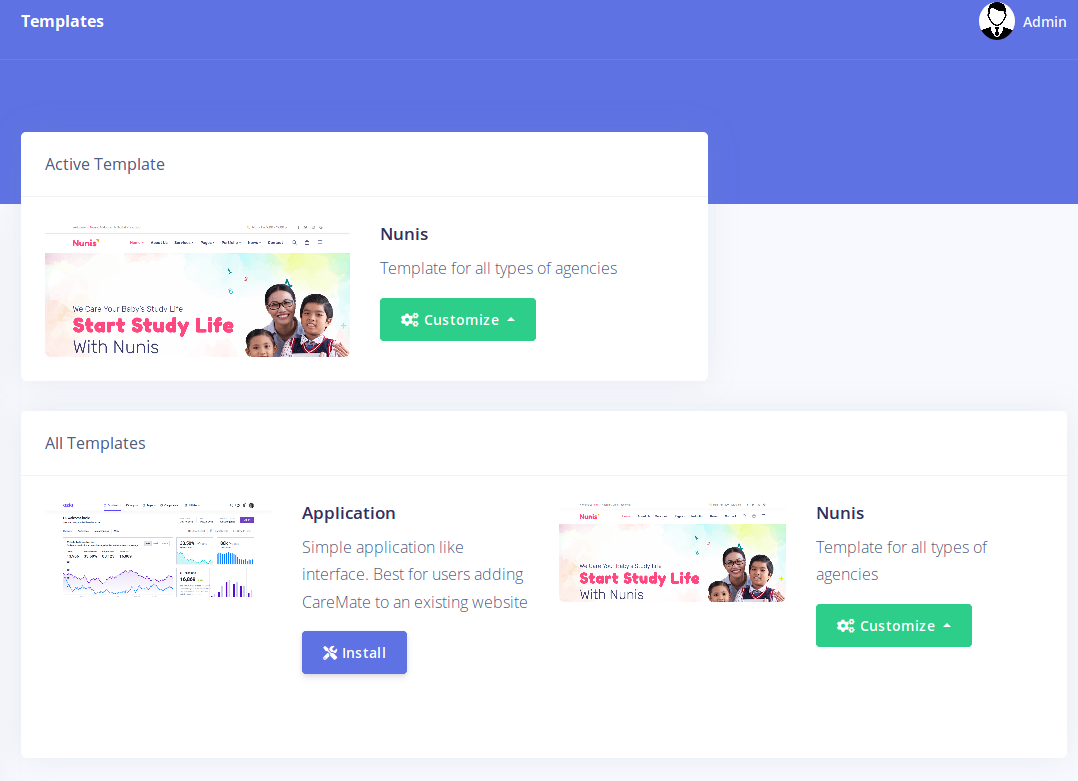
The Active Template section shows the currently installed template and also displays buttons for modifying the template. The 'All Templates' section displays all the available templates you can choose from. Click on the 'Install' button if you would like to switch to a new template. To modify your existing template, click on the 'Customize' button.
Clicking the 'Customize' button presents two options: Settings and Colors

The 'Settings' button is the main option for
modifying the template. It leads to a page that contains various forms
for customizing the template. The 'Color' option leads to a page that
enables you change the different major colors used by the template.
Clicking on the 'Settings' option lead to a page like below:
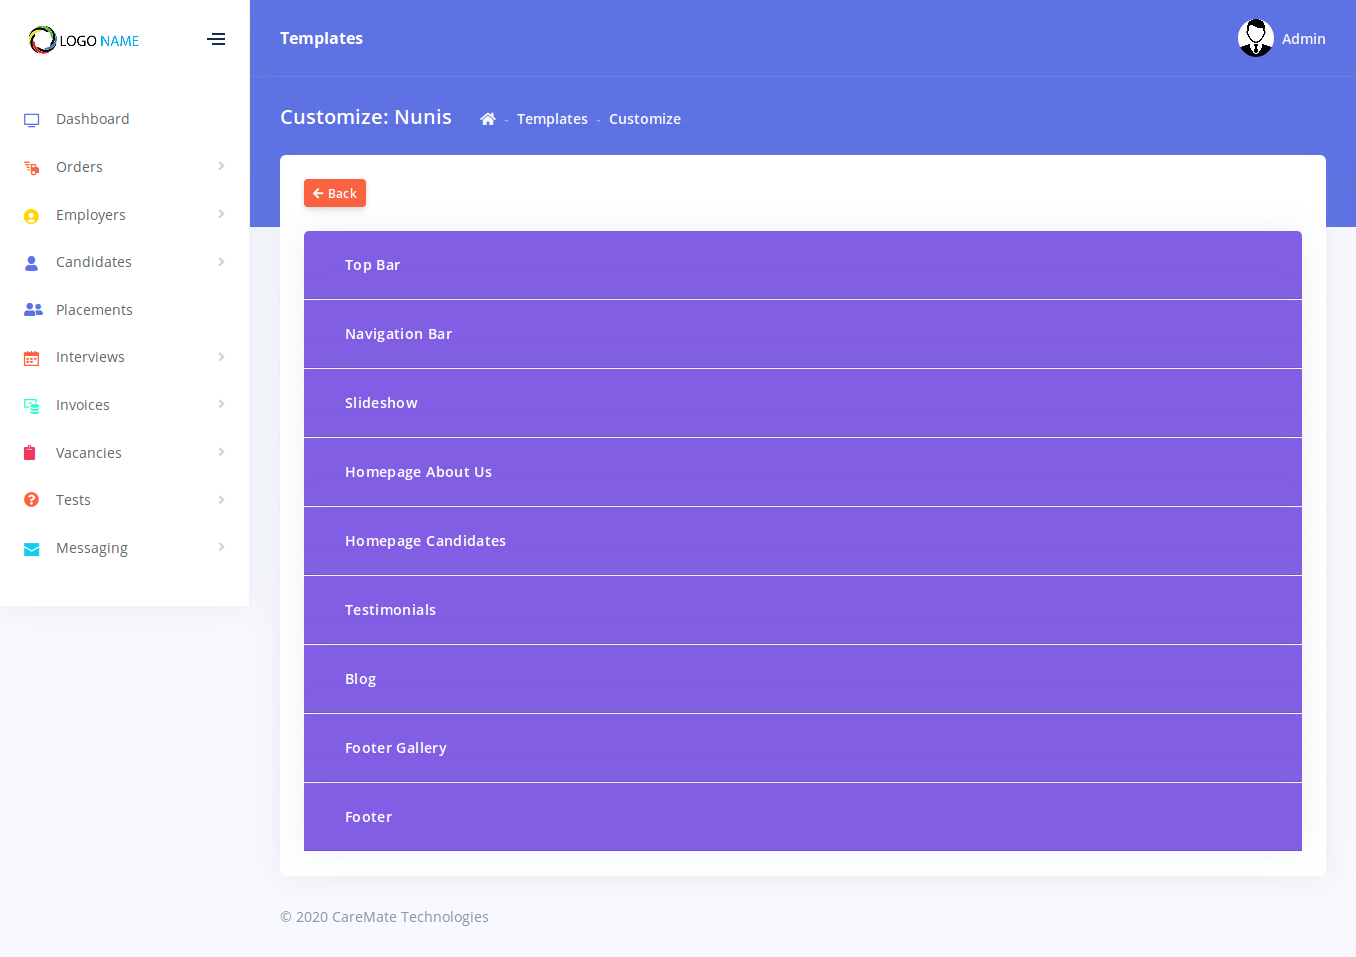
Please note that each template's settings page will give different options other than that shown in this image.
Clicking on any of the options opens the panel to reveal the controls available for modifying that option.

Each option always has an 'Enabled' dropdown control
at the top left. This can be used to completely enable or disable that
option. Once you modify any of the content of an option, click on the
'Save Changes' button. Your changes will reflect on your portal
immediately.