Order Settings
Before you start accepting orders on your CarePro
portal, you should setup some basic order settings. These define a few
options for how orders should be placed on your site.
To open the order settings page, go to 'Settings'-'Order Settings'
This opens the following page:
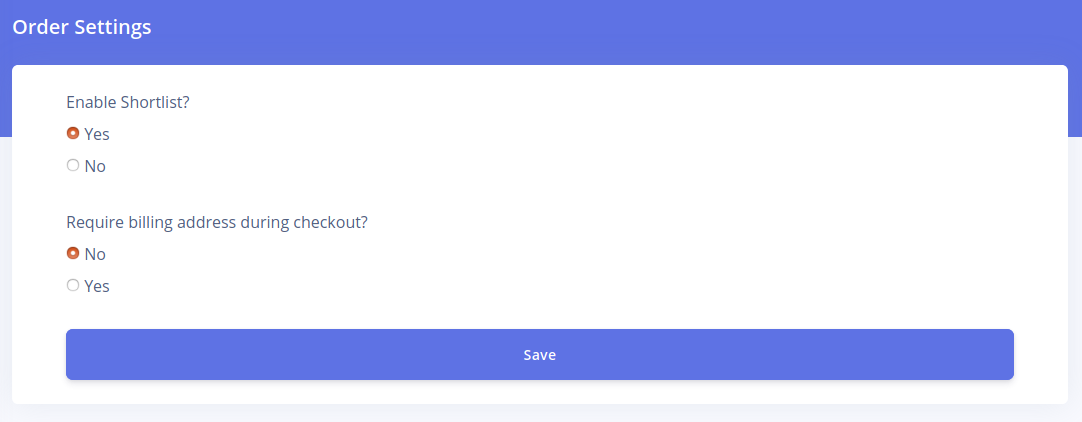
Each option presented in this page is explained below:
-
Enable Shortlist: This specifies if you
would like Employers to be able to shortlist candidates while they are
placing their orders. If you set this to 'No' , then the shortlist
option will not be visible on the site. However, you will still be able
shortlist candidates if you are creating orders manually from the
backend.
-
Require billing address during checkout:
This specifies if you would like to force users to submit their billing
addresses during checkout. This is needed if you are using certain
payment gateways that may require it.
Order Forms
CarePro allows you to create multiple order forms. An
order form is a dedicated form accessible only to Employers. Employers
can use these forms to place orders for your services.
Each order form can be customized in order to receive
the right type of information you need from your various types of
Employers. For example, if you run a Nanny agency that caters for
Parents and Creches, you can choose to create two order forms, one for
Parents and the other for Creches. Links to the order forms can be
placed on your Navigation menus for easy location by Employers.
In order to create an order form, login to your Admin account and navigate to 'Settings'-'Forms'-'Order Forms'.
The Order Forms page will open which shows the list of all available forms.
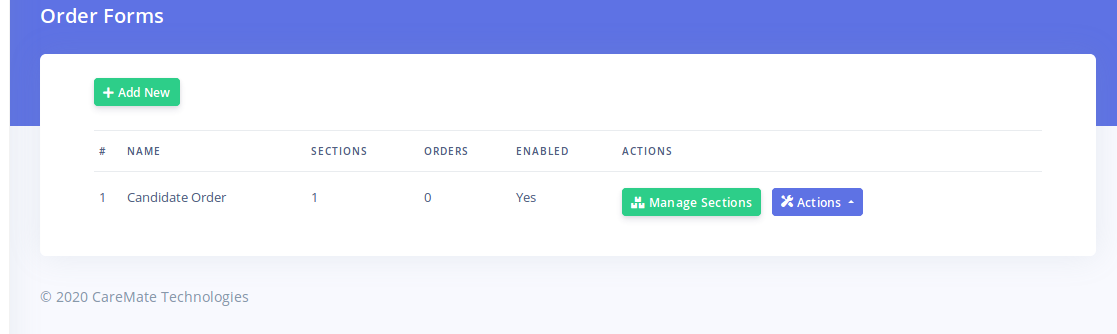
In order to create a new form, click on the 'Add New' Button.
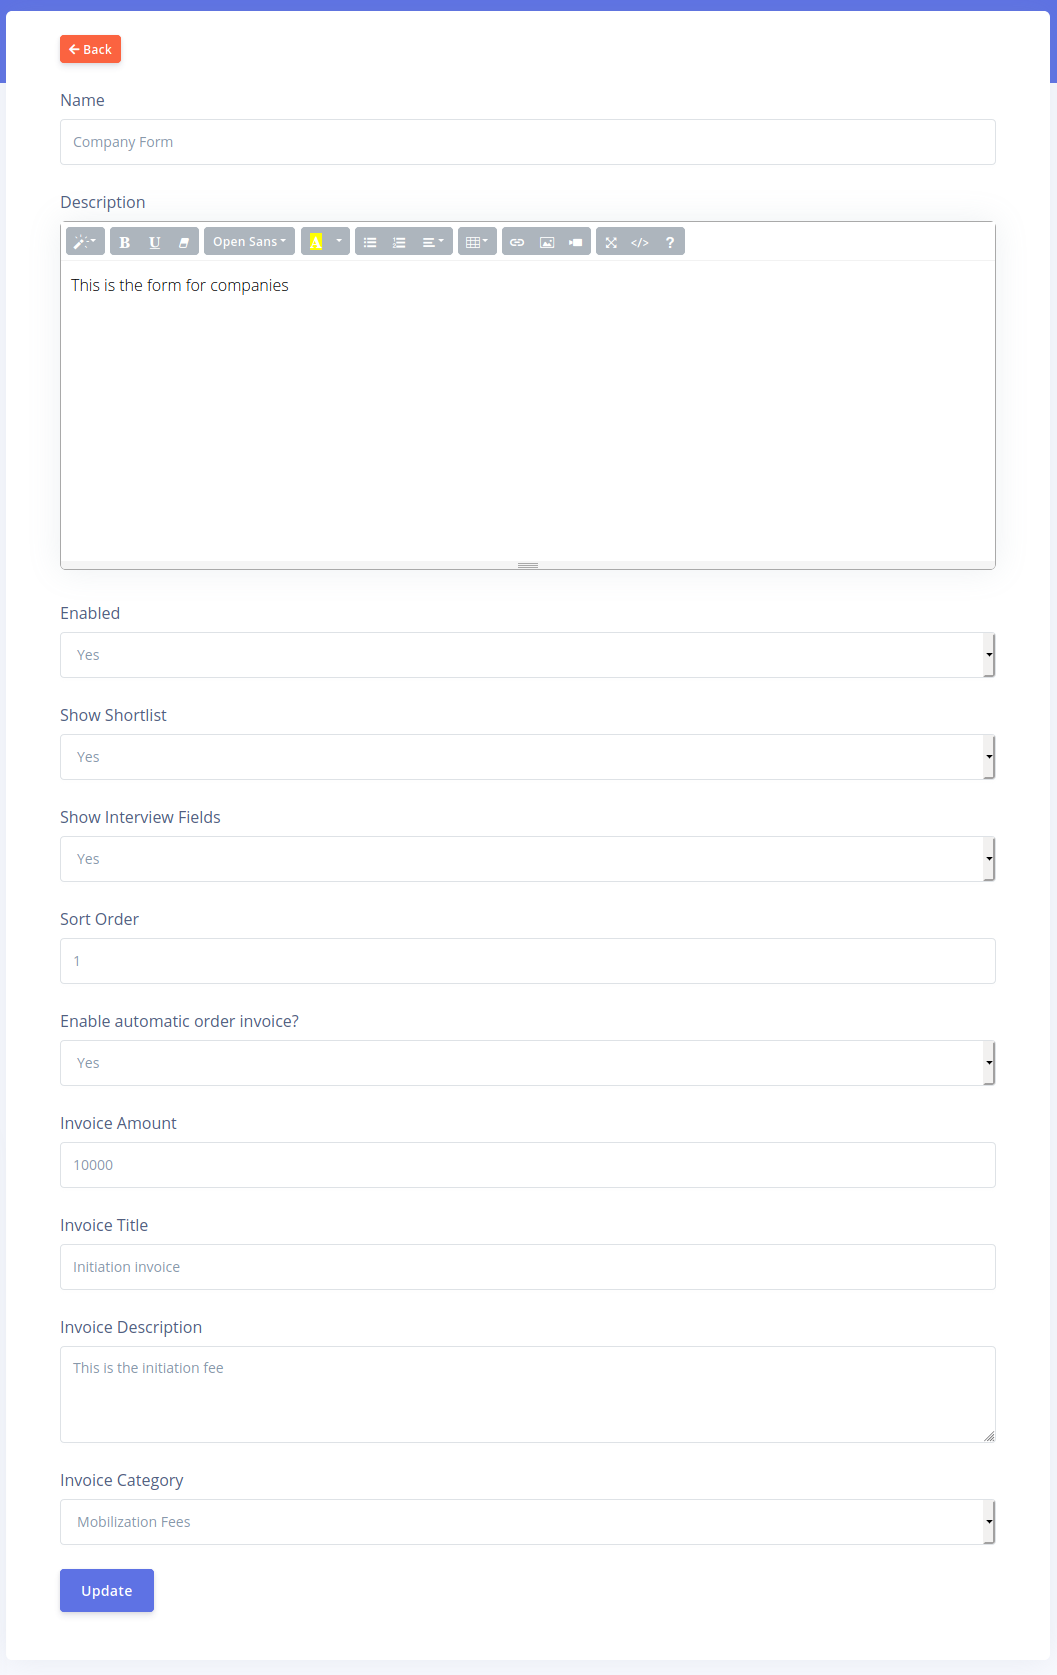
The order form page will open up which contains the following fields:
-
Name: Enter the name of the form. Choose a
name that is descriptive of the Form's function as this name will be
displayed as the Title of the form when employers open it.
-
Description: The description of the form
should contain instructions you would like employers to read before
filling the form. This description will be visible on the first section
of each Order Page an employer attempts to fill. It will also be visible
on the order form list that gets displayed if there are more that one
active order forms.
-
Enabled: This specifies if a form can
receive responses or not. If disabled, employers will not be able to
view the form even if they have the url.
-
Show Shortlist: When an employer is
placing orders, they may wish to shortlist candidates from your public
list. This setting determines if the shortlisted candidates will be
visible on the form while it is being filled. You may wish to disable
this if you do not expect Employers the form was designed for to be
interested in shortlisting.
-
Show Interview Fields: Typically, order
forms are used to place orders for candidates and this usually results
in an interview being scheduled. By default, forms have some fields that
enable employers set their preferred interview details such as
Interview date, Interview location and Interview Time.
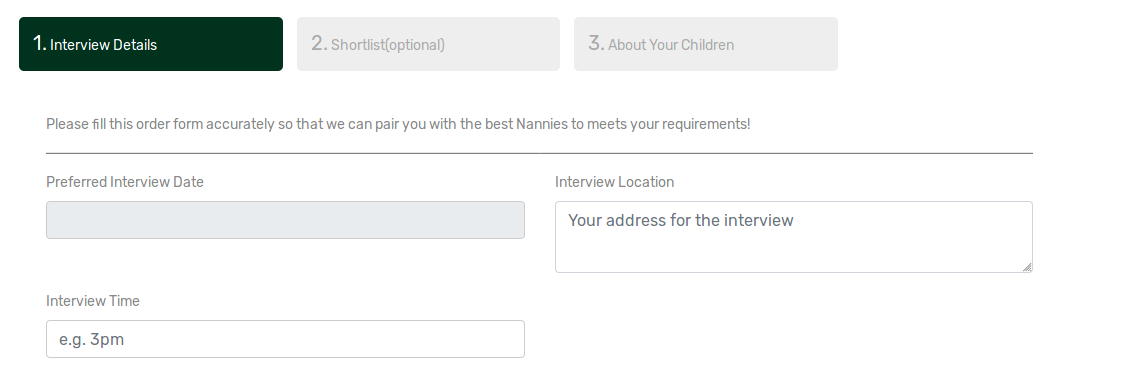
If you wish to hide these fields in a form, you can do so using this option. -
Enable automatic order invoice: This
specifies if you would like and invoice to be generated automatically
every time an employer successfully creates an order. This is especially
useful for collecting mobilization fees. If set to yes, then and
invoice will be automatically generated for the employer and they will
be redirected to the payment page after they place their order.
-
Invoice Amount: This option will only
have an effect if the 'Enable automatic order invoice' option is set to
'Yes'. This specifies the amount that will be charged on the
automatically generated invoice.
-
Invoice Title: This option will only have
an effect if the 'Enable automatic order invoice' option is set to
'Yes'. This defines the title of the invoice that is generated
automatically.
-
Invoice Description: This is the description of the invoice item for the automatically generated invoice (if enabled).
-
Invoice Category: CarePro enables you to
categorize your invoices for easy sorting. You can specify the Invoice
Category that the automatically generated invoice (if enabled) will
belong to by default.
Once you have successfully created a form, you can
proceed to create sections for that form. Each order form is comprised
of 'Sections'. You can create as many sections as you wish for each
form. Each section can contain multiple fields. Fields are the actual
form controls that the employer fill input data into. Fields can be of
various types such as Text boxes, Text area, Select, Radio buttons,
Labels, Checkboxes and File input.
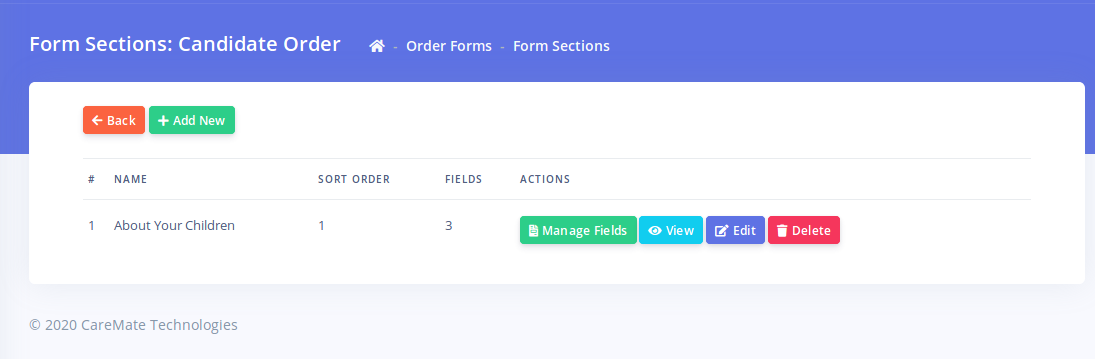
To create a new section, click on the 'Manage Sections' button for the Order Form you are modifying
Next, click on the 'Add New' button.
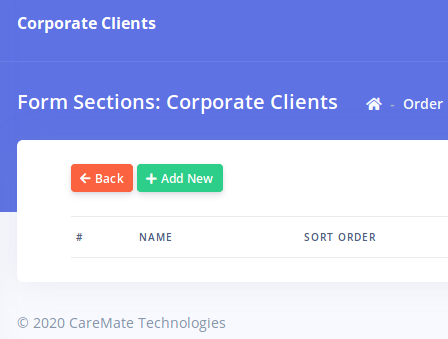
The Order Form Section creation page will open as shown below:
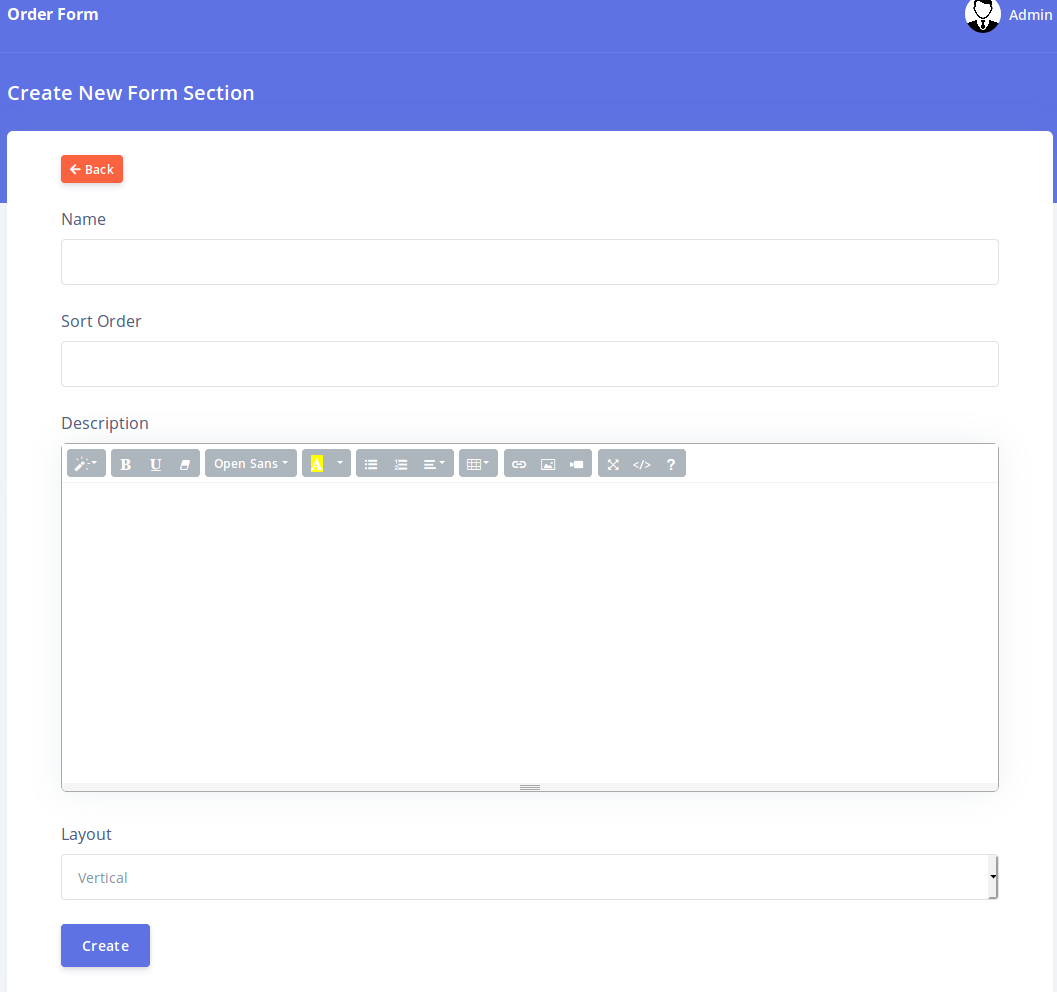
The different fields on this page are explained below:
-
Name: This is the name of the section.
Enter a name that is descriptive of this section. However, ensure that
you do not make your name too long as this is what is displayed as the
title of the form section on the order form as show below
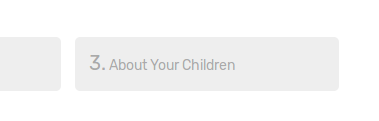
We recommend you use just three or four words as your section name. -
Sort Order: The sort order is a digit
that controls the order of display of this section relative to the order
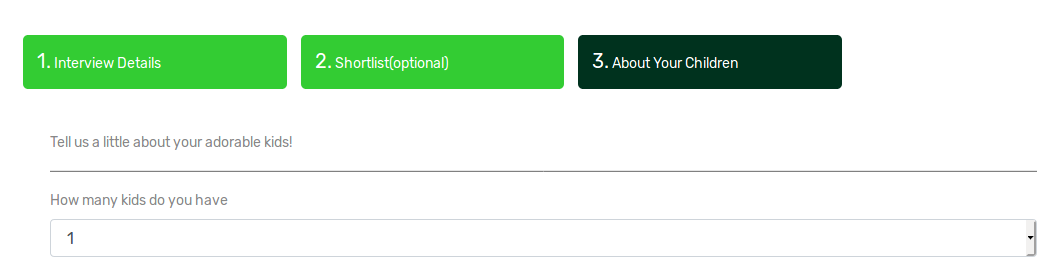
sections on the same form. Sort orders must be an integer (e.g. 1,2,3).
The sections are displayed in ascending order of the sort order. Hence,
if you assign the number 1 as a sort order for a section, it will be
the first section that is displayed after the 'Details' and 'Shortlist'
(if enabled) sections.

We
recommend you do not repeat section sort orders in a single form i.e.
do not give two sections in the same form the same sort order number.
This is to make sure your display order is predictable. -
Description: This is descriptive text
that explains how the fields in this section should be filled. This is
displayed to employers when they navigate to this section in the order
form.
-
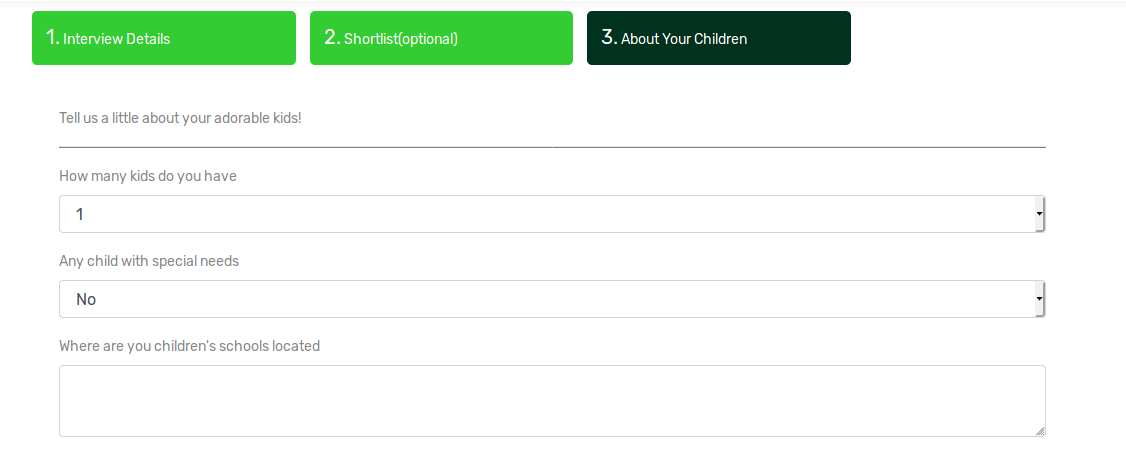
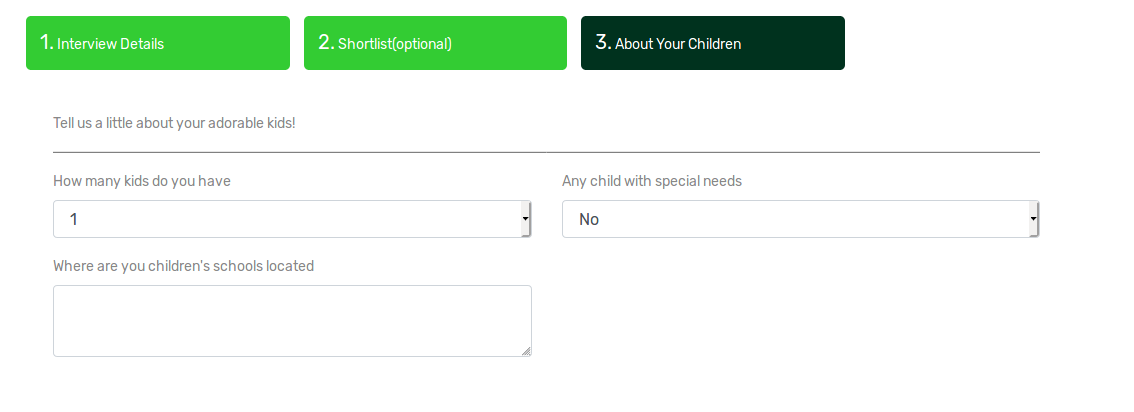
Layout: The layout field is used to
define the order in which fields will be displayed on the form. The
layout can either be 'Vertical' or 'Horizontal'. If set to 'Vertical'
then the order fields will be laid out vertically on the form e.g.
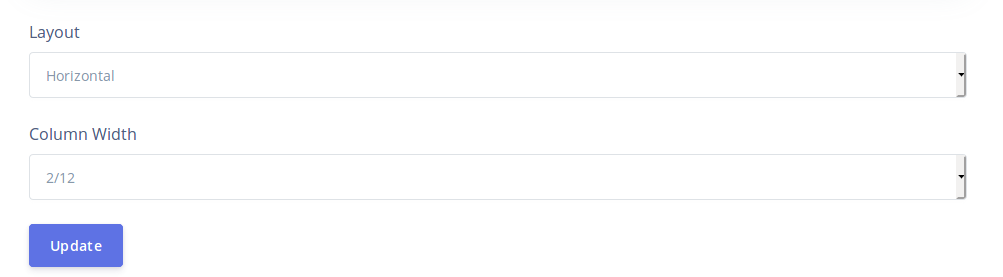
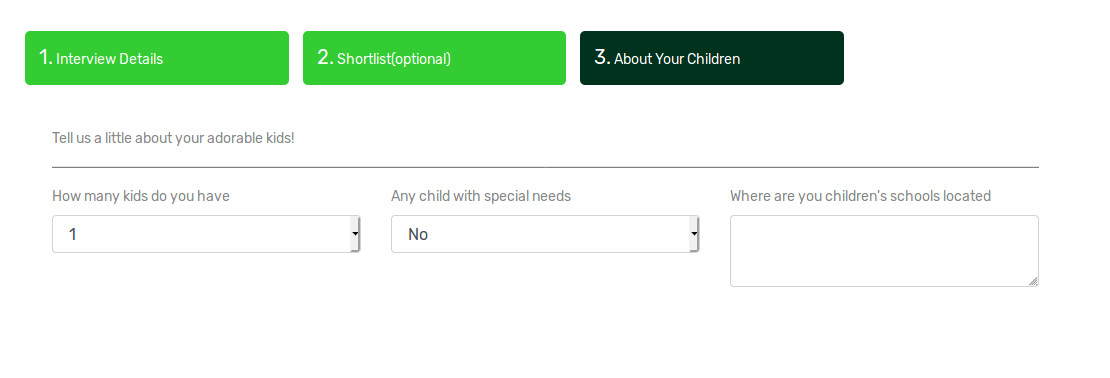
However,
if you set the layout to 'Horizontal', you can arrange the fields in
that section in a grid format. Selecting the 'Horizontal' option will
reveal the 'Column Width' option
The
grids are laid out in blocks of 12. You can specify how many blocks out
of 12 each column in the section should occupy. For example, if you
specify 6/12 as the column width, then each field will take up half of
the space in the section as show below:
If you set to 4/12, then each field will occupy one third of the space in the section like below:
Creating Fields
After you have successfully created your sections,
you can then create fields. Each field (except the 'Label' field)
represents a piece of data you wish to collect from an employer. To
create or manage fields for a form section, click on the 'Manage Fields'
button for that section:
This brings up the list of all the fields in that
section. You can see the field type, sort order and if the field is a
required field or not.
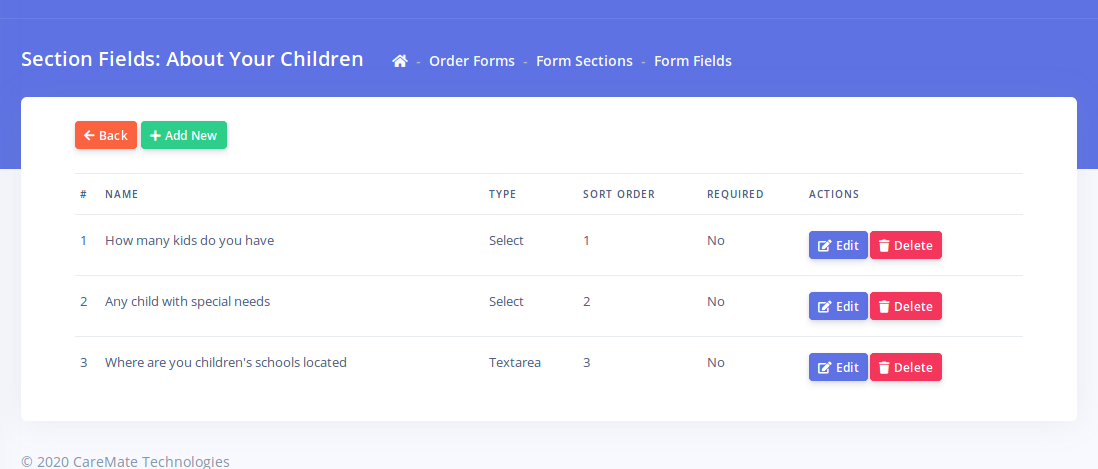
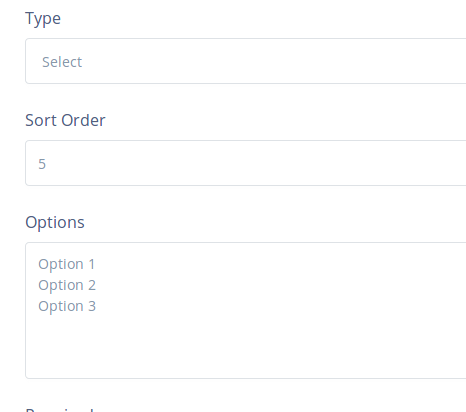
Next click on the 'Add New' button. This will bring up the field creation page:
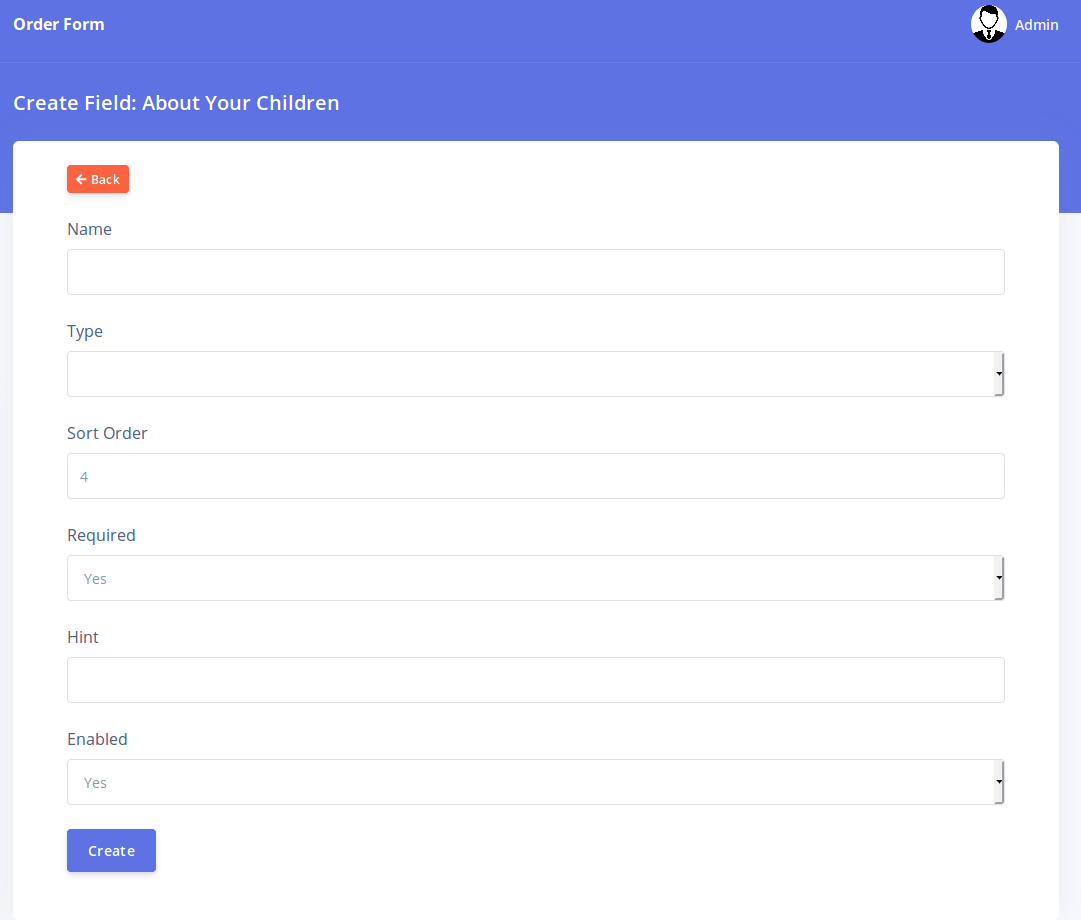
Each option in this page is described below:
-
Name: This is the title of the field.
Please give each field a name that clearly describes the type of data
that should be inputted into it.
-
Type: This describes the nature of the Form field that will be created. The following type of fields are supported:
- Text: This accepts a single line of text e.g

Use this field type to collect small pieces of text.
-Textarea: This accepts multi-line paragraph text. e.g.
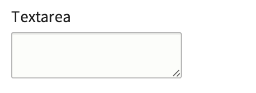
Use this field type to collect larger amount of text.
-Select: This creates a drop-down control that allows the user select from a list of options e.g.

Use this option if you would like to restrict user input to a predefined set of options.
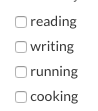
-Radio:
This creates a list of options similar to the 'Select' above. However,
for radio buttons, each option is displayed on the page without the user
needing to click on the control e.g.

Use this option for smaller list of options.
-Checkbox:
Checkboxes are used to create 'Yes' or 'No' fields. If the user selects
the option, its value is set to 'Yes'. If not selected, its value is
set to 'No' e.g.
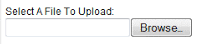
-File: This allows a user to upload a file e.g.
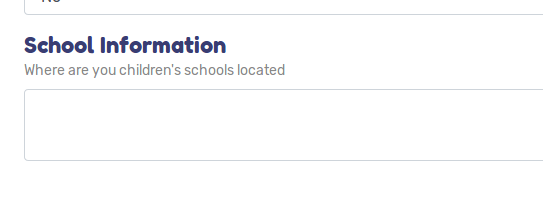
-Label:
The label field is a special option that does not actually collect any
data. This field type is simply used to create a heading withing form
fields. This is very useful if you wish to separate fields within a form
section. For example see the 'School Information' label below
-
Sort Order: This defines the placement of
the field relative to others in the same section. The fields are
arranged in ascending order. The sort order must be an integer. We
recommend you do not repeat sort orders for fields in the same section.
-
Options: The options box is only visible
if you select the 'Select' or 'Radio' field types. This box allows you
to define the options that can be selected from. Please note that you
need to enter each option on a new line e.g.
-
Required: This specifies if this field
should be mandator. If set to 'Yes' then employers will not be able to
submit the order form without filling this field.
-
Hint: This allows you to define a
descriptive text that tells the user what type of data is expected for
that field. Please note that this only works for Text and Texarea field
types.
-
Enabled: This specifies if the field will be visible on the order form or not.
Once you have created all your sections and their associated fields, your order form should be ready for use!
Note however that you will need to add your form to a
menu in order for it to be visible on the site. You can add the form to
the header or footer menu by going to 'Settings'-'Menu'. Click on the
'Header Menu' or 'Footer Menu' option.

One the menu editing page, click on the 'Order Forms'
panel. You will see the list of all your order forms there. Click on
the 'ADD' button for the form you wish to add to your menu.

Your form should now be easy to locate by your
employers. For more information on managing menus, please see the
'Managing Menus' help page
Managing Orders
Order are requests for your services placed by prospective employers. Orders can be created in two ways
- An employer visits your main site (the Frontend) and then fills an order form you created previously.
- You manually create an order on behalf of an employer from the admin area (the Backend)
Orders can have 4 different statuses. These are
-
Pending: These usually are orders which
have not been attended to yet. It is the default status of all new
orders submitted by employers from the Frontend
-
In Progress: These are orders that you
have started processing. Setting the status to this informs the
employer that their order is being worked on.
-
Completed: These are orders that have been concluded i.e. candidates have been paired with employers and payment has been received.
-
Cancelled: These are orders that were not successfully concluded for whatever reason.
It is important that you update an order as it
progresses through the different stages. Employers can log into their
account an view the status of their orders. They can also get notified
via email as you update their orders.
Manually Creating An Order
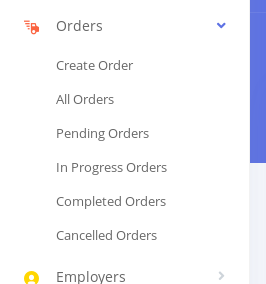
If you wish to manually create an order for an employer, click on the 'Orders'-'Create Order' link
This opens the Orders page and a dialog appears prompting you to select a form.
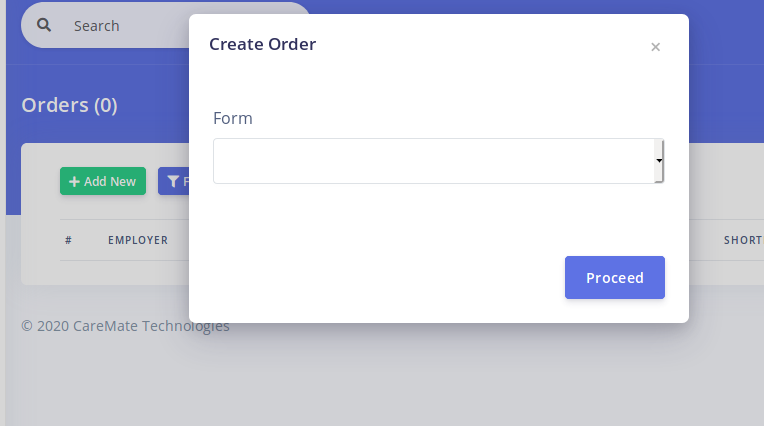
Select a form you have created previously from the dropdown option. Then Click on 'Proceed'. The order creation page will open
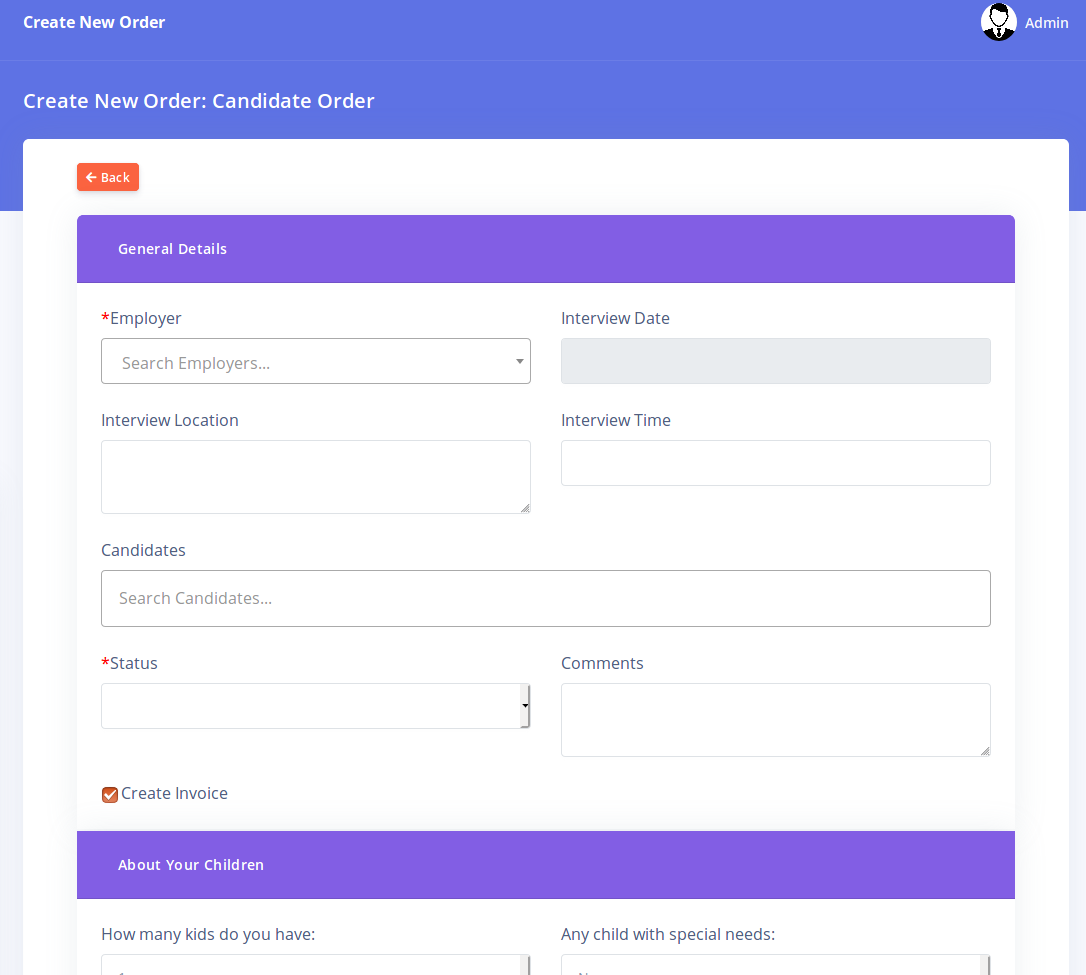
Fill in all the details required in order to create
an order. Select your employer from the dropdown by typing either the
name or email of the employer. You can also shortlist candidates for
this order by typing the list of candidates in the 'Candidate' box. You
can add as many candidates as you wish.
Note the 'Create' invoice checkbox. If selected, you
can create an invoice automatically based on your 'Automatic invoice'
settings (learn more about that here). Click on the 'Create' button in order to create your new order.
Managing Orders
To manage existing orders, click on any of the links
(except 'Create Order') under the 'Orders' menu corresponding to the
type of order you wish to view.
This brings up the corresponding list of orders
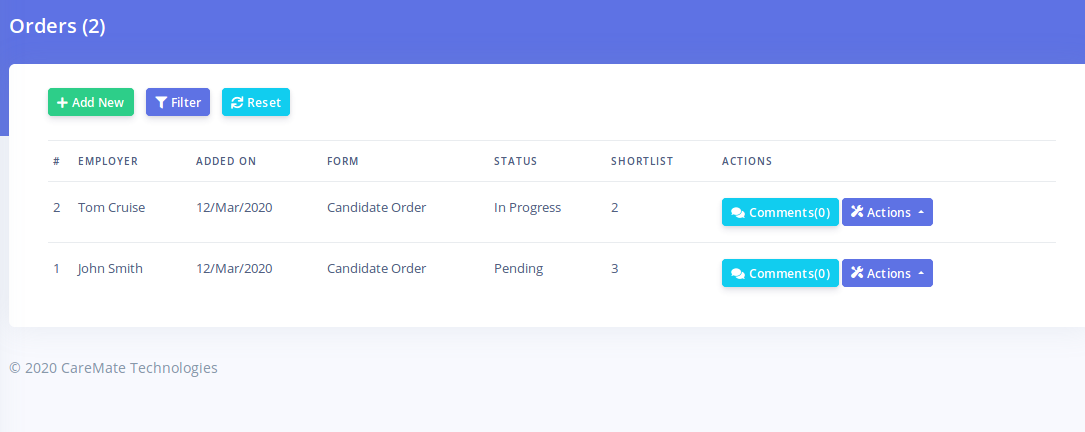
Each order has two buttons: 'Comments' and 'Actions'
The 'Comments' button leads to a page where you can
manage all order comments for this order. Each order can have an
unlimited number of comments. Comments can be created both by the Admin
and the Employer. This provides an easy location where you can provide
updates to the employer about their order.
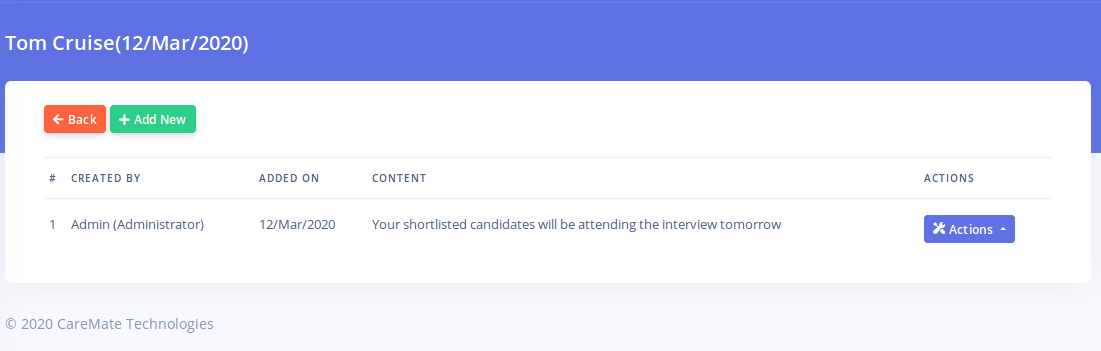
When you create a comment, the employer can get
notified immediately via email. Click on the 'Add New' button on the
comments page in order to add a new comment. You can also add
attachments to your comments.
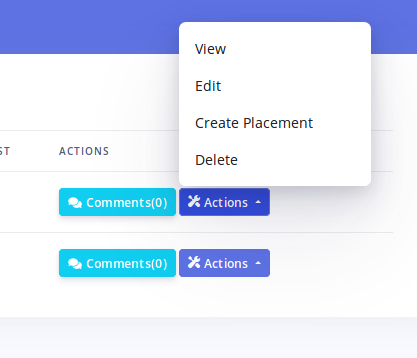
The 'Actions' button provides options for viewing,
editing and deleting an order. There is also a 'Create Placement'
button. This enables you easily create a 'Placement' record after an
order has been completed successfully. See the 'Managing Placements'
help page for more information on placements.
Clicking on the 'View' action option leads to the page were you can get a full view of the order
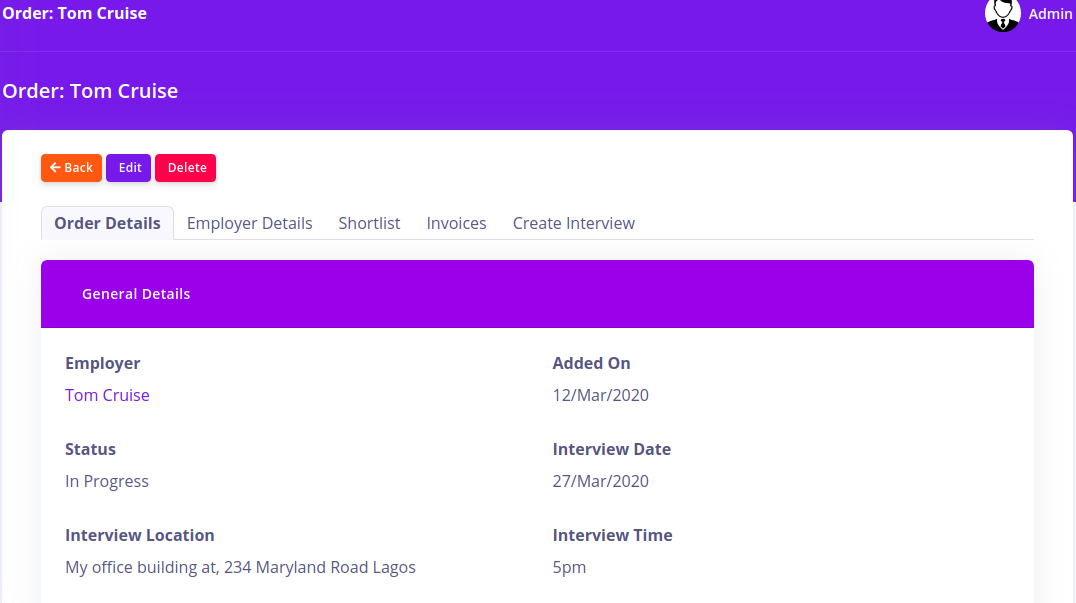
The order viewing page contains different tabs. There
is the 'Order Details' tab which shows the specific details of this
order, the 'Employer Details' tab which shows you the full details of
the employer, the 'Shortlist' tab which shows you the candidates
shortlisted for this order (if available), the 'Invoices' tab which
shows invoices that were created for this order and the 'Create
Interview' tab which enables you easily schedule an interview for the
employer who placed this order (See the help page for managing
interviews for more information).
One thing to note about the 'Invoices' tab is that
you can create new Invoices here. Invoices created using the 'Add new'
button in this tab will be associated with this order only. We recommend
you create Order related invoices this way as it helps you organize
your invoices.